参考にできそうな記事が,ver18 のやつだったので新しく書いてみる.でも全く同じことをして接続できてしまった.参考記事の方が詳しいので,これは個人的な記録としての意味合いしかない.
方針
普通は ubuntu server のイメージをダウンロードしたラズパイをディスプレイに接続し,そこで設定をする.しかし HDMI ケーブルが家にないので,全て Mac で操作することでなんとかする.
ラズパイにイメージを挿す前に.
- WiFi の設定
- ユーザーの設定
- キーボードの設定
- ssh の公開鍵の設定
をあらかじめ書き込んでおく. そして,ラズパイの起動後に PC からラズパイの MAC アドレスを頼りに,割り振られている IP アドレスを見つけ出す. ssh 接続をして ubuntu server を操作する.
これからやる人へのアドバイス
うまくいかなかったら,SD カードのイメージを焼き直せば OK!!気楽にいこう!!
参考にしたページ
- モニター・キーボード不要! Raspberry Pi に Ubuntu を超簡単にインストールして SSH する方法
- Raspberry Pi に Ubuntu を入れて SSH でログインするまでの A to B
手順
1. ラズパイ公式イメージャーをダウンロードする
公式ページからダウンロードする. mac だと homebrew で以下のようにダウンロードできる
$ brew install raspberry-pi-imager --cask
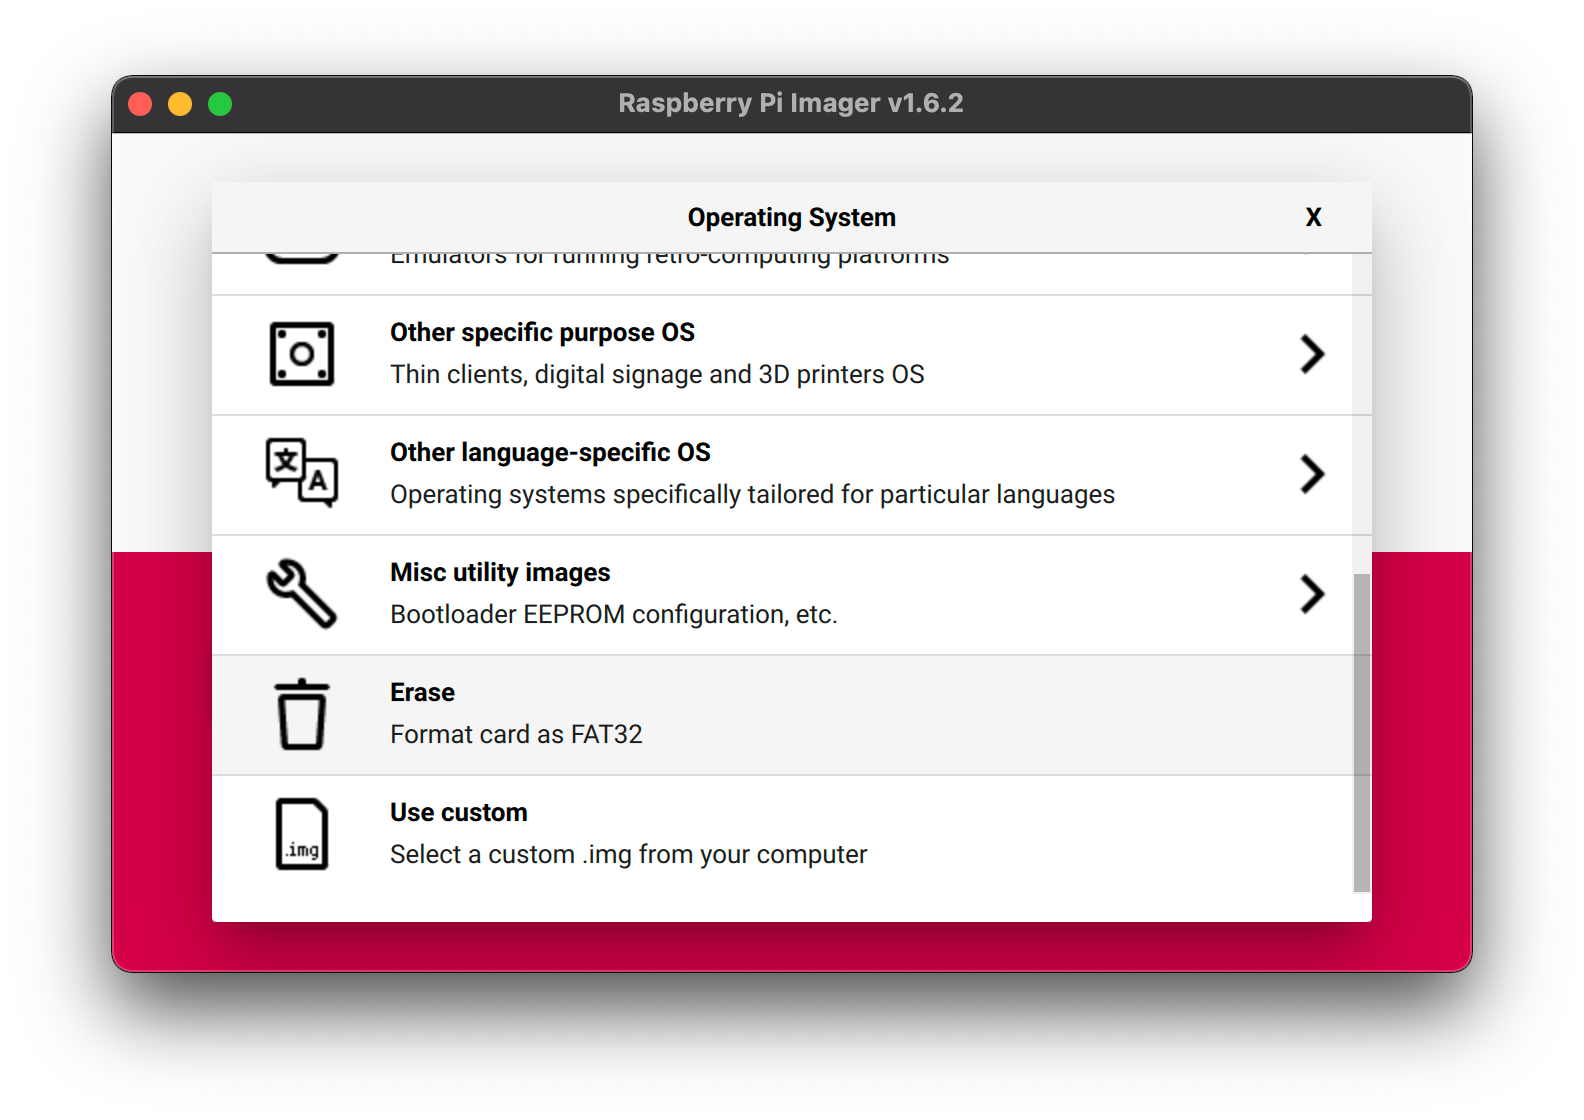
2. SD カードをフォーマットする.
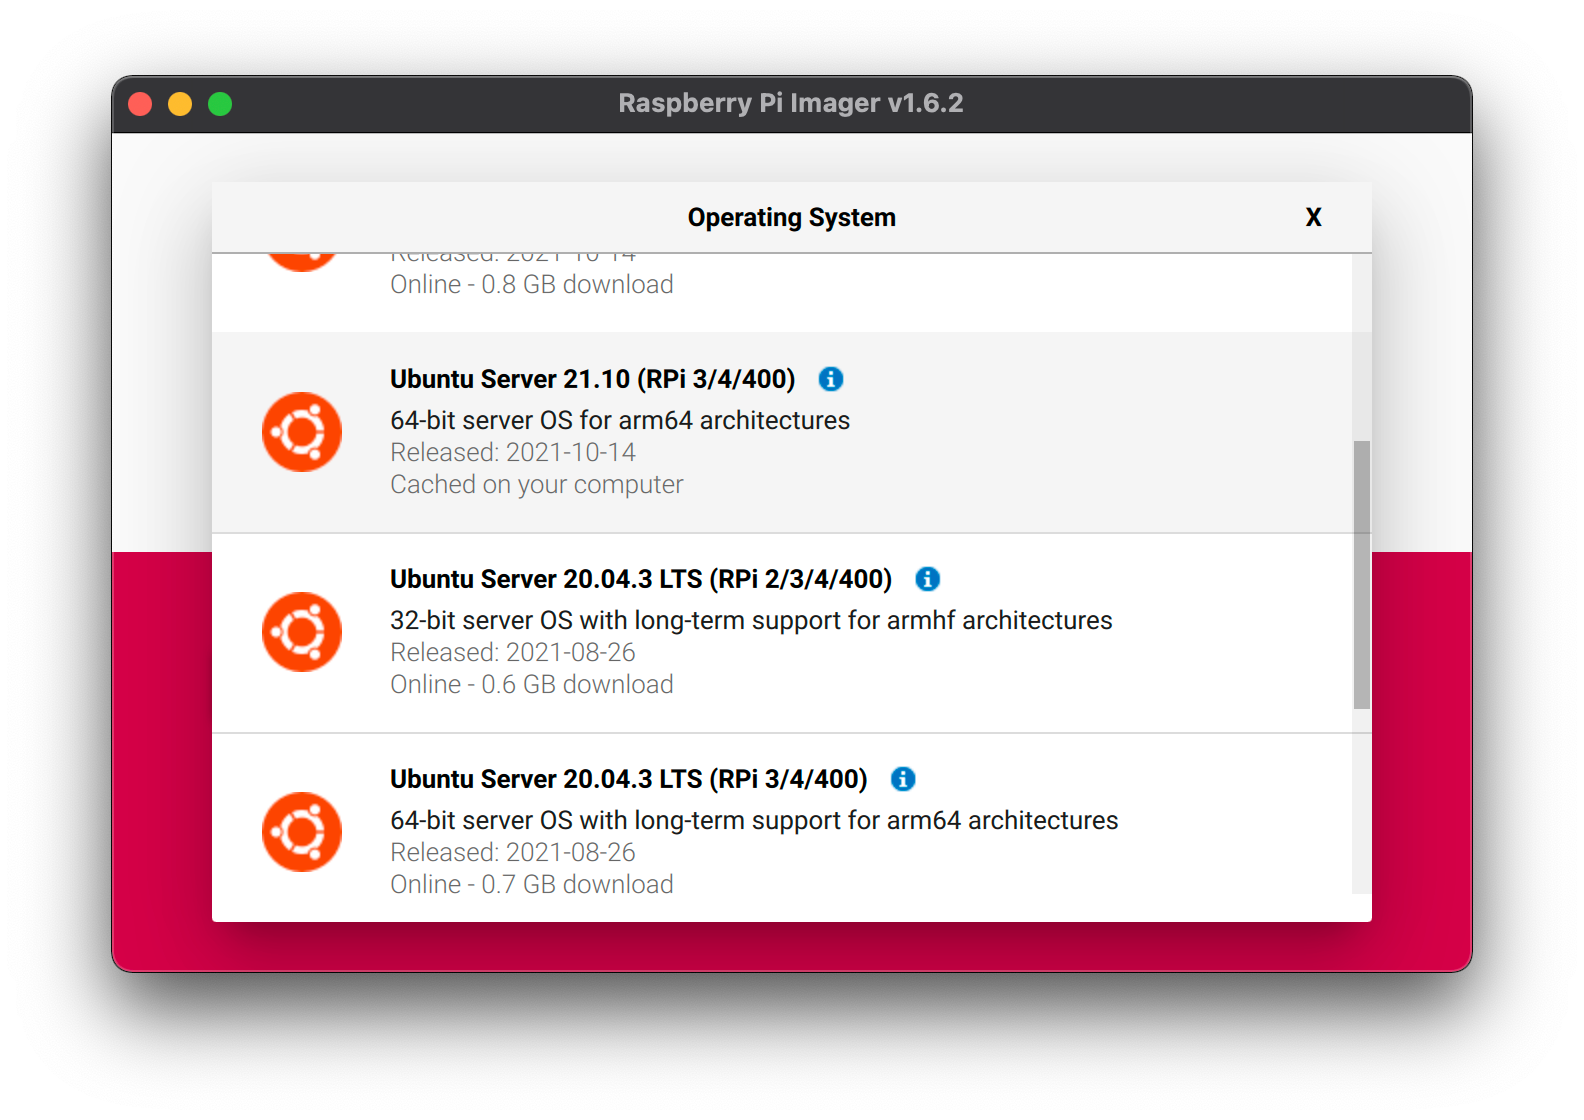
3. ubuntu server21.10(RPI 3/4/400) 64bit を書き込む
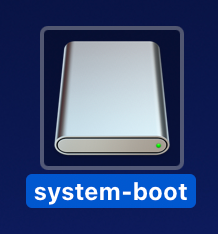
書き込みが終わったら,一回 SD カードを抜いてまた差し込む.すると,デスクトップに"system-boot"という名前のディスクが表示される.
4. system-boot を書き換える.
system-boot の README の内容は以下のようになっている.
An overview of the files on the /boot/firmware partition (the 1st partition
on the SD card) used by the Ubuntu boot process (roughly in order) is as
follows:
* bootcode.bin   - this is the second stage bootloader loaded by all pis with
                   the exception of the pi4 (where this is replaced by flash
                   memory)
* config.txt     - the configuration file read by the boot process
* start*.elf     - the third stage bootloader, which handles device-tree
                   modification and which loads...
* vmlinuz        - the Linux kernel
* cmdline.txt    - the Linux kernel command line
* initrd.img     - the initramfs
* meta-data      - meta-data for cloud-init; usually just contains the
                   instance id
* network-config - network configuration for cloud-init; edit this to set up
                   wifi access points and other networking settings
* user-data      - user-data for cloud-init; edit this to configure initial
                   users, SSH keys, packages, etc.
この README が参考記事と違っている.sysconfig と userconfig, uboot*.bin, boot.scr などが書かれていない.よくわかんない.
4-1. user-data 書き換え
とりあえず,参考記事と同じように user-data を書き換える.
書き換え後
# On first boot, set the (default) ubuntu user's password to "ubuntu" and
# expire user passwords
chpasswd:
  expire: true
  list:
    - newusername:ubuntu
# Override the default user name defined in cloud.cfg
system_info:
  default_user:
    name: newusername
4-2. ssh の設定
デフォルトだとパスワード認証になっているので公開鍵認証にする.パスワードよりも公開鍵認証の方が安全.
公開鍵の作成方法は以下を参照.Mac で公開鍵を作成する方法
すでに作成してある場合,Mac だと~/.ssh/id_rsa.pub に公開鍵が記録されている.
# Enable password authentication with the SSH daemon
ssh_pwauth: false
ssh_authorized_keys:
  - ssh-rsa AAAA<中略>== rsa-key-of-user1
4-3. 実行時のコマンド類?
よくわからないが,起動後に実行されるコマンド類らしい.詳細は元記事を参照.
## Run arbitrary commands at rc.local like time
#- [ ls, -l, / ]
#- [ sh, -xc, "echo $(date) ': hello world!'" ]
#- [ wget, "http://ubuntu.com", -O, /run/mydir/index.html ]
runcmd:
  # apply keyboard configration
  - [dpkg-reconfigure, -f, noninteractive, keyboard-configuration]
  # apply netplan config defined on 'network-config'
  - [netplan, apply]
  # after wlan0 is connected, write the arp entry to target machine on background job
  - [nohup, sh, -c, "sleep 30; ping 192.168.0.2 &"]
# Restart 2 minutes after running all config modules (for apply keyboard configration)
power_state:
  delay: "+2"
  mode: reboot
4-4. network-config 書き換え
ラズパイは 2.4Ghz の wifi にしか対応していないので注意. ここを書き換えただけでは初回起動時に wifi に接続できないらしい.(詳細は元記事を参照)
wifis:
  wlan0:
    dhcp4: true
    optional: true
    access-points:
      "SSID of your homewifi":
        password: "password of home wifi"
    #  myworkwifi:
    #     password: "correct battery horse staple"
    #   workssid:
    #     auth:
    #       key-management: eap
    #       method: peap
    #       identity: "me@example.com"
    #       password: "passw0rd"
    #       ca-certificate: /etc/my_ca.pem
4-5. ラズパイ起動
書き込み終わった SD カードを適切にパソコンから抜いて,ラズパイに差し込む. ラズパイの電源を入れる. ip アドレスを探すのがうまくいかなかったら,一回電源をぶちっと切ってもう一回入れ直す.
5-1. ssh 接続するためにラズパイの ip アドレスを探す.
以下,参考記事からの抜粋
ip アドレスはルーターが動的に割り振る(DHCP で検索)ので,どの番号になっているかわからない.それをラズパイの MAC アドレスを頼りに探す.
Mac のターミナルでarp-scanコマンドを使って探す.
Mac に arp-scan コマンドをダウンロードする.
$ brew install arp-scanそのまま以下を実行する.
$ sudo arp-scan -l --interface en0こんな感じの結果が出る.
192.168.0.1 MACアドレス NEC Platforms, Ltd.
192.168.0.3 MACアドレス Apple, Inc.
192.168.0.4 MACアドレス Sony Corporation
192.168.0.7 MACアドレス (Unknown)
192.168.0.13 MACアドレス    (Unknown: locally administered)
192.168.0.5 MACアドレス (Unknown: locally administered)
ラズパイは MAC アドレスが"dc:a6:32" や "b8:27:eb"の場合が多いらしいが,私のは e4:5f:から始まっていた.勘で ip アドレスを当てたら(今回は 192.168.0.7 だった.) なんかうまく行った.
5-2. ssh 接続をする
$ ssh <USER_NAME>@<IP_ADRESS>
を実行することで ssh 接続できる.
Are you sure you want to continue connecting (yes/no/[fingerprint])?
には yes で答える.
WARNING: Your password has expired.
You must change your password now and login again!
Changing password for ユーザー名.
Current password:
と表示されるので,Current password にはubuntuと入力する.ユーザー名は変えたけど,パスワードは変わっていない.
そのあと,New password:と聞かれるので,新しいパスワードを入力する.
パスワードの確認が終わると,接続が切れるので,また$ ssh <USER_NAME>@<IP_ADRESS>で接続する.
こうして晴れて ubuntu server に ssh 接続することができるようになった!
終わり!